How Can We Help?
< Back
Print
How to Replace the Seals on a Flat Face Coupler
Watch this video to learn how to:
- Replace seals in a leaking flat-face coupler effectively.
- Identify the tools and parts you’ll need to perform the repair.
- Verify that the repair has been successful and the coupler is leak-free after installation.
What to Expect in the Repair Kit:
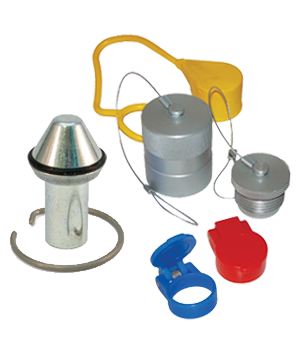
- The parts in the repair kit may look different from the original factory O-rings and seals. This is intentional—Stucchi designs these parts for easier installation by the end user.
Key Steps in the Process:
- Follow the video for a detailed, step-by-step guide on how to replace the seals on the male coupler.
- Ensure that you have the necessary tools: a small clip or paperclip to hold the piston open, a non-marring tool like an O-ring pick, and proper PPE for safety.
- Once completed, confirm that there are no leaks by connecting the coupler, activating the hydraulics, and running a few test cycles.
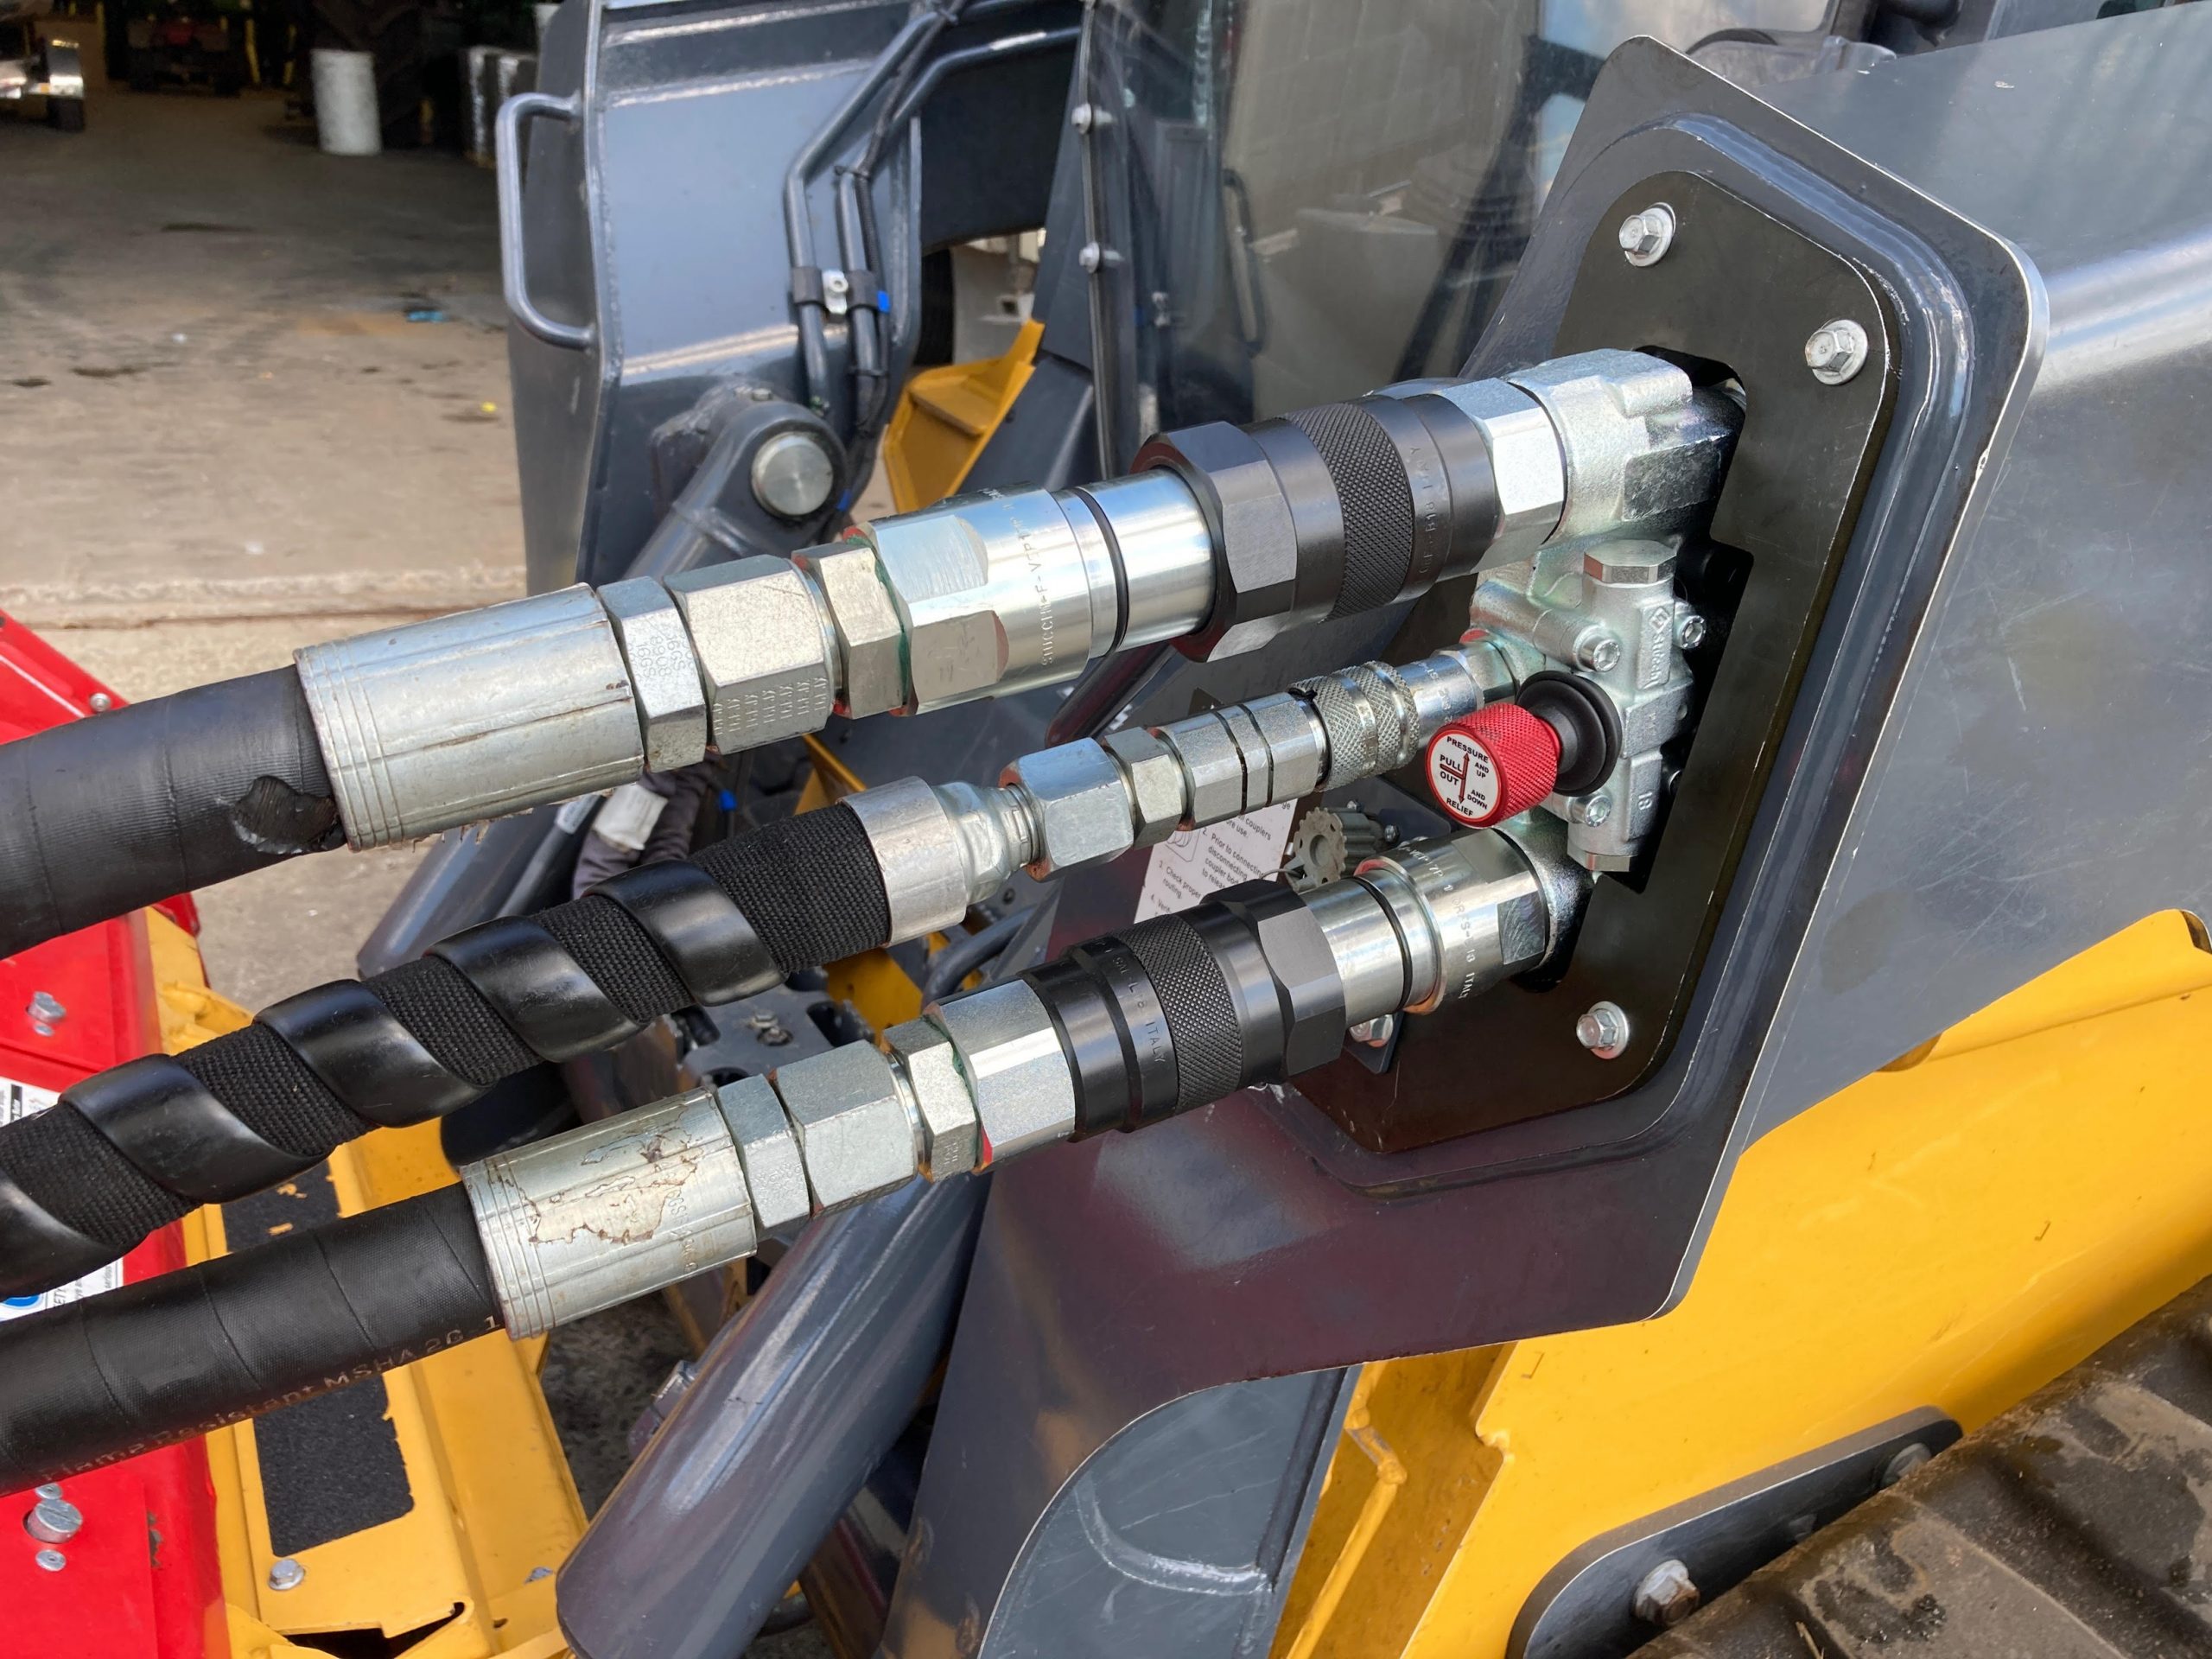
Replacing seals in a flat-face coupler can extend its life and prevent further issues with leaking or reduced system performance. *Stucchi recommends replacing the seals on the male coupler only, as repairing the female valve is more complex.
Contact a Stucchi representative for assistance with how to replace the seals in a flat-face coupler.


